Packaging
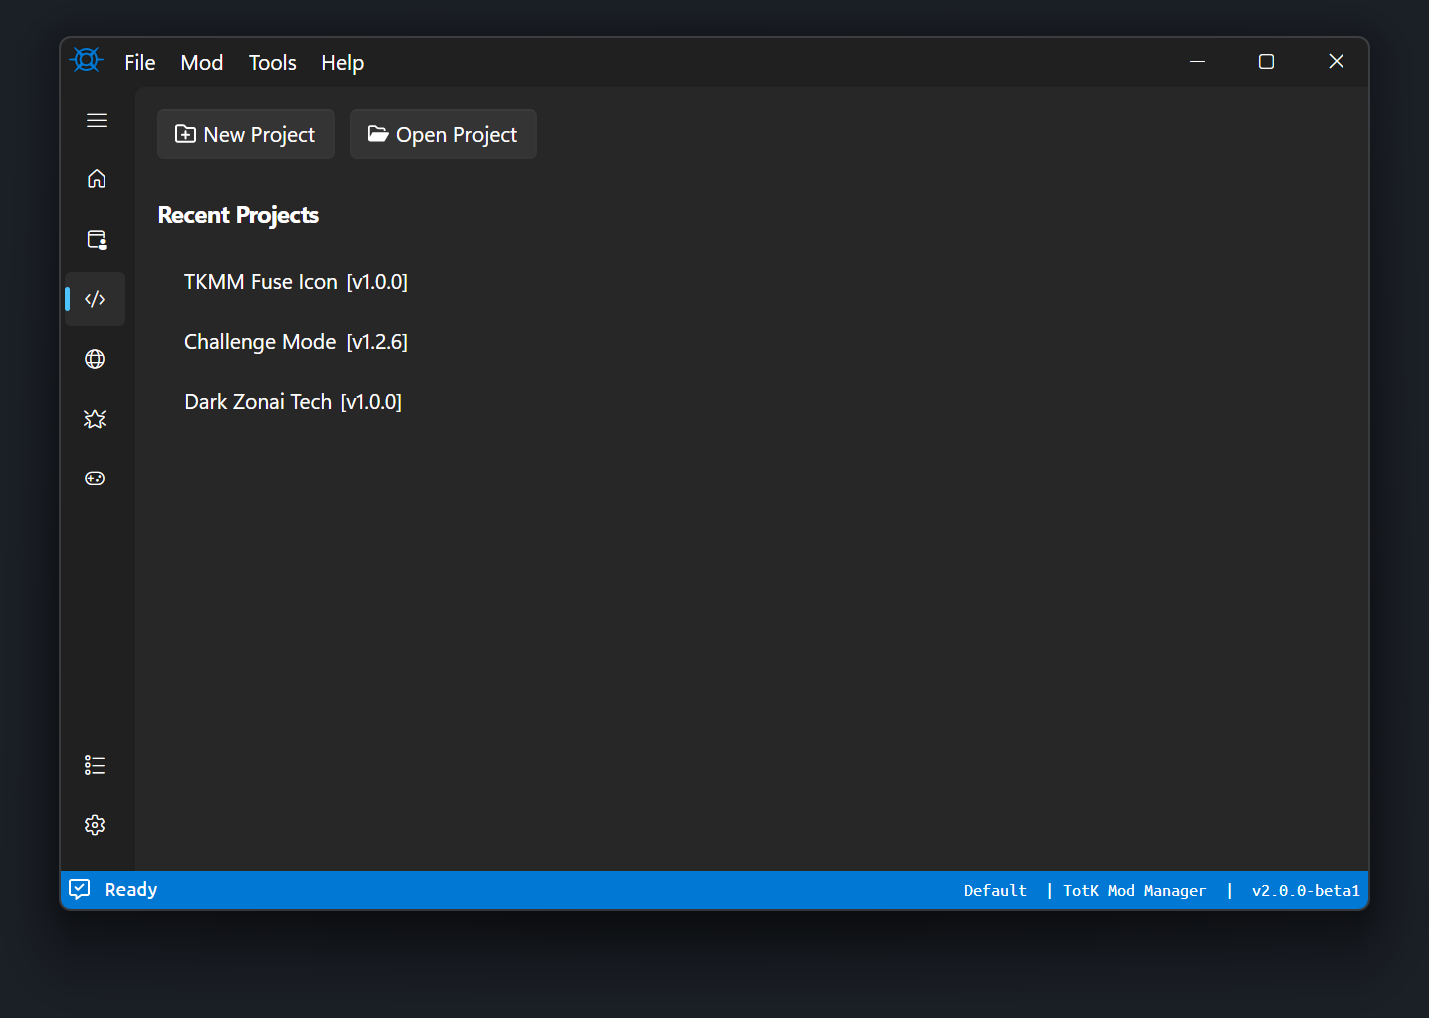
This page will walk you through all features in the Projects section of TKMM. To begin, select New Project, and navigate to the folder containing the romfs, exefs, and/or cheats folder. If you already have a saved project, you can navigate to the .tkproj (TKMM Project) file using the Open Project button, or choose it from the Recent Projects list by double-clicking on the name of the project.
Basic Fields
When creating a new project, you should see the following screen:
![]()
Name
The Name field is for the title of the mod. It will be displayed in the Mod List on TKMM's home page to represent the mod.
Version
The Version field is for the version of the mod. It's recommended to use 1.0.0 for the first release of a mod, and using a higher numbered version for updates. You may use any1.0.0 is filled in by default.
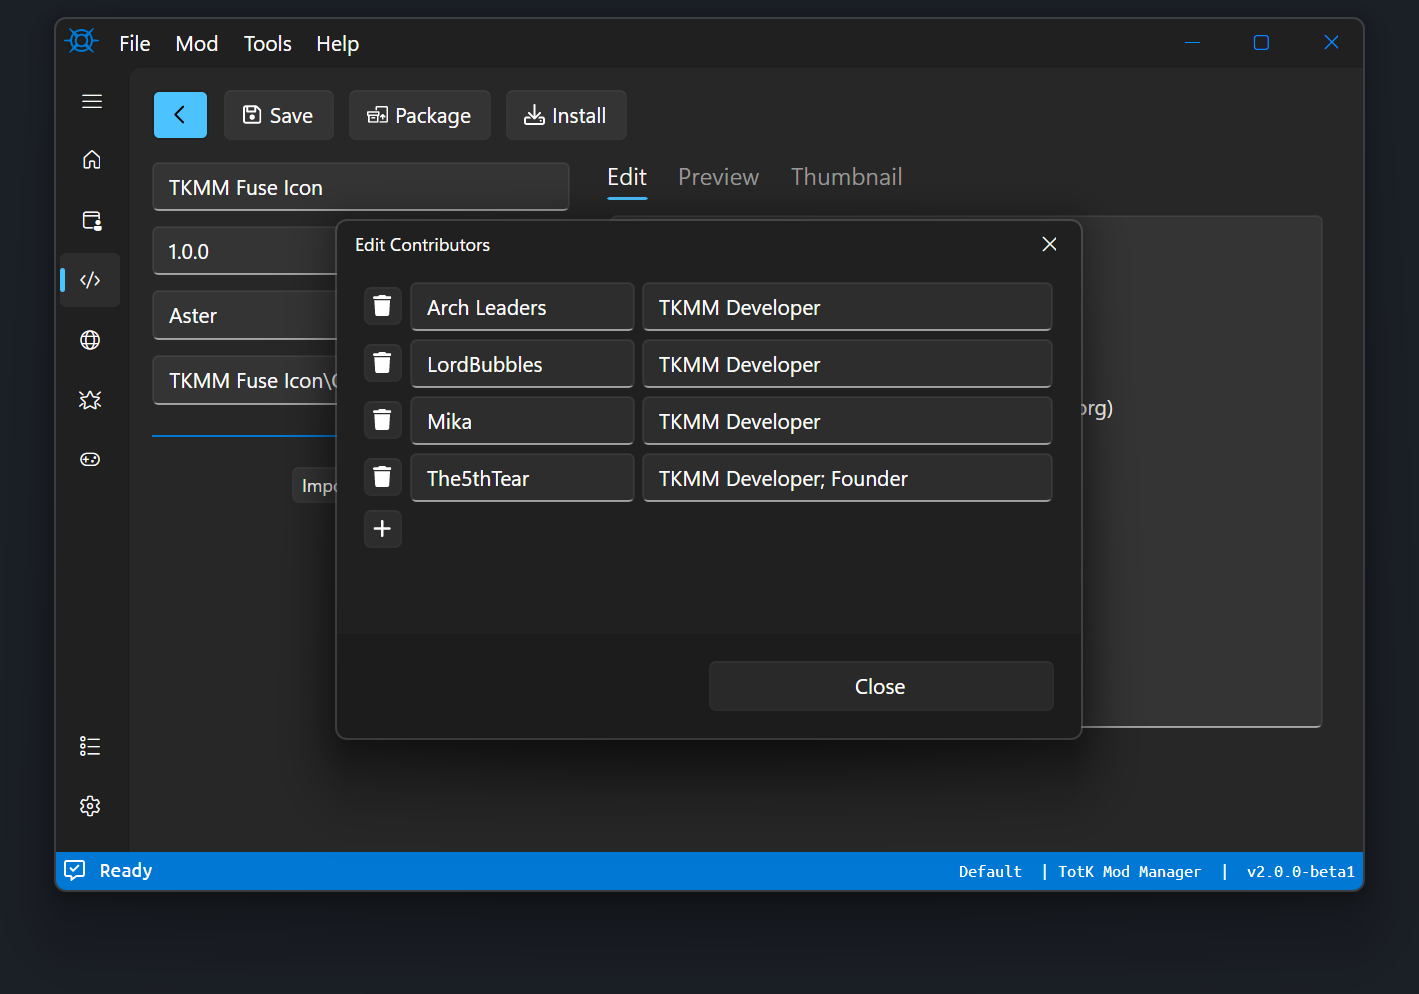
Authors
The Author field is for specifying the mod's primary author. This field will be automatically filled if you configured the Default Author field in the Packaging tab of TKMM's Settings. If more than one author contributed to the mod, click on the … on the right side of the Author field. Press the + button and two fields will appear. The field on the left is for specifying the name of an additional contributor. The field on the right is for listing their contributions to the mod. If they made multiple contributions, each contribution can be separated by a semicolon. For example: Models; Textures; Sounds. Press Close to confirm your changes and exit the additional contributors window.
Thumbnail
The Thumbnail field is for the path to the mod's thumbnail image. Acceptable image formats include bmp, gif, jpg, jpeg, png, and tif. Note that only the first frame of a gif will be used as a thumbnail. To preview your thumbnail, click on the Thumbnail header on the far right of the Packaging tab.
Description
The Description field is on the far right side of the Packaging tab. Fill it in with a description of your mod. You can use markdown formatting, a guide for which can be found here. To preview the description, click the Preview header. Click on the Edit header to get back to the description editor.
Packaging
When you are satisfied with the packaging settings, click the Package button to export the TKCL to a path of your choosing, or click Install to install the mod for testing purposes.
Tip
Whether you're Packaging or Installing a mod, click Save to save the .tkproj file to the root directory of the mod.
Through the use of a .tkproj file, all data from the packaging screen is saved.
This enables you create updates for your mod that use the same internal ID, so when a user installs a newer version of your mod, it will automatically replace the original version they had installed.
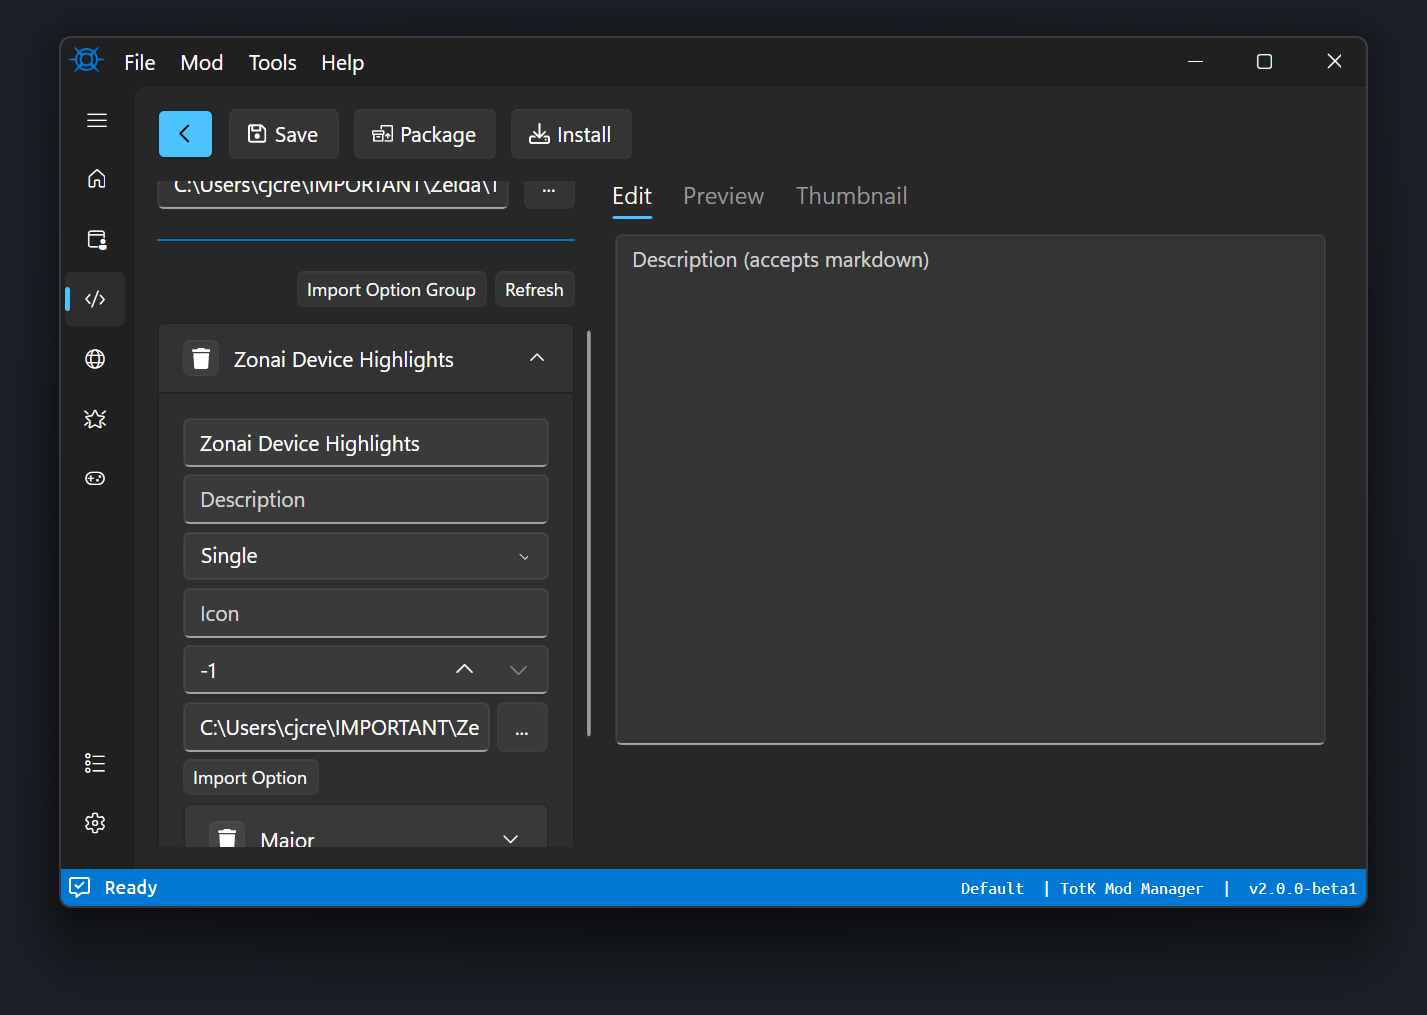
Mod Options
When packaging a TKCL, mod creators can add user-configurable options to their mod. These options are different configurations of files that the mod user can customize to better tailor their experience. There is no minimum or maximum limit to the amount of Option Groups a TKCL can include. When adding option groups, a description and thumbnail can be added to each option to explain to the end-user what each option group is used to configure. The thumbnail and description of an option group is visible to the user by hovering over the title of the option group.
As an alternative to manually importing option groups in TKMM, you can have option groups automatically detected when you select the Mod Folder by laying out the option group in the mod's folder structure. Here is an example of the folder structure:
├── thumbnail.jpg
├── romfs/
└── options/
    ├── OptionGroup1Name/
    │   ├── thumbnail.jpg
    │   ├── Option1Name/
    │   │   └── romfs/
    │   ├── Option2Name/
    │   │   └── romfs/
    │   └── Option3Name/
    │       └── romfs/
    │
    ├── OptionGroup2Name/
    │   ├── thumbnail.jpg
    │   ├── Option1Name/
    │   │   └── romfs/
    │   ├── Option2Name/
    │   │   └── romfs/
    │   └── Option3Name/
    │       └── romfs/
    │
    └── OptionGroup3Name/
        ├── thumbnail.jpg
        ├── Option1Name/
        │   └── romfs/
        ├── Option2Name/
        │   └── romfs/
        └── Option3Name/
            └── romfs/
There are four types of option groups:
Single groups allow the user to pick 1 option from the group.
SingleRequired groups require the user to pick exactly one of the option group's options.
Multi groups allows the user to pick as many or as few of the options as they'd like.
MultiRequired groups require the user to pick one or more of the options in the group.
Note
You can configure the relative priority of option groups compared to one another, with 0 being the lowest priority. If you're creating a Multi or MultiRequired Option Group, you can configure the relative priority of options within each of those groups.